


Welcome to another session of Do it Yourself with a Little Help From Your Friend (aka: me c") (PS: I'm feeling a little froggy, I've had a nice glass of Zombie Zen Zinfandel wine. Not the best wine I've ever had, but with a nice melted ice cube, it's alright.)
This is what we'll be making tonight:
DIY Glitter State Cut Outs (the easy way.)

(disregard the "HOME." That was a separate DIY Photoshop project I did for my sister and brother for Christmas.)
As you can see, I made quite a few of these bad boys. Including letters to go along with (OH!) The letters were the hardest thing to accomplish because of how tight the corners were in cutting. I had to use small hair trimming scissors in order to get them that tight.
Now, I know what you're thinking: "Shanna! We've seen a MILLION of these online!" Yes, I have too (that's why I made them!) But none of them (that I've seen personally) take the simple way out... I did. And it was... simple. :) A lot less struggle, heartache and headache (and cheaper too!)
So, here's what you'll need:
- One package of card stock paper (or enough to suite your color needs): I used this. Great thing about this package is you can use card stock to make a TON of DIY projects! Including personalized greeting cards.
- The colors of glitter card stock paper you'd like your state to be. (Highlighted and underlined for your viewing pleasure.) I cannot find a link to this on Michaels.com [hate their website] but my local Michael's sales GLITTER CARD STOCK! [makes this project 100 x easier.]
- Scissors
- Printer paper and printer (unless you're an expert freehander)
- Glue
- Picture frame (sold separately.)
With all of the necessary items in tow, let's get to work! This project should take all of 15 minutes (if you're a swift cutter.)
Firstly, you'll need to find which state (or letters) you'd like to make into Glittertastic versions of themselves. Print these onto computer paper, to the appropriate size you'd like. I used a nice shade of red glitter card stock (pictured below) for the Ohio State Buckeyes! Carefully trim around the edges of your printer paper cut out.


Flip your glitter card stock over and trace your letters / state onto the back. A typical size glitter card stock gave me two sets of letters and one state (which fit nicely into a 5" x 7" frame.) Now cut.

WASN'T THAT SIMPLE? No need for hair spray or messy mod podge. The letters / state come out glittery from the get go.


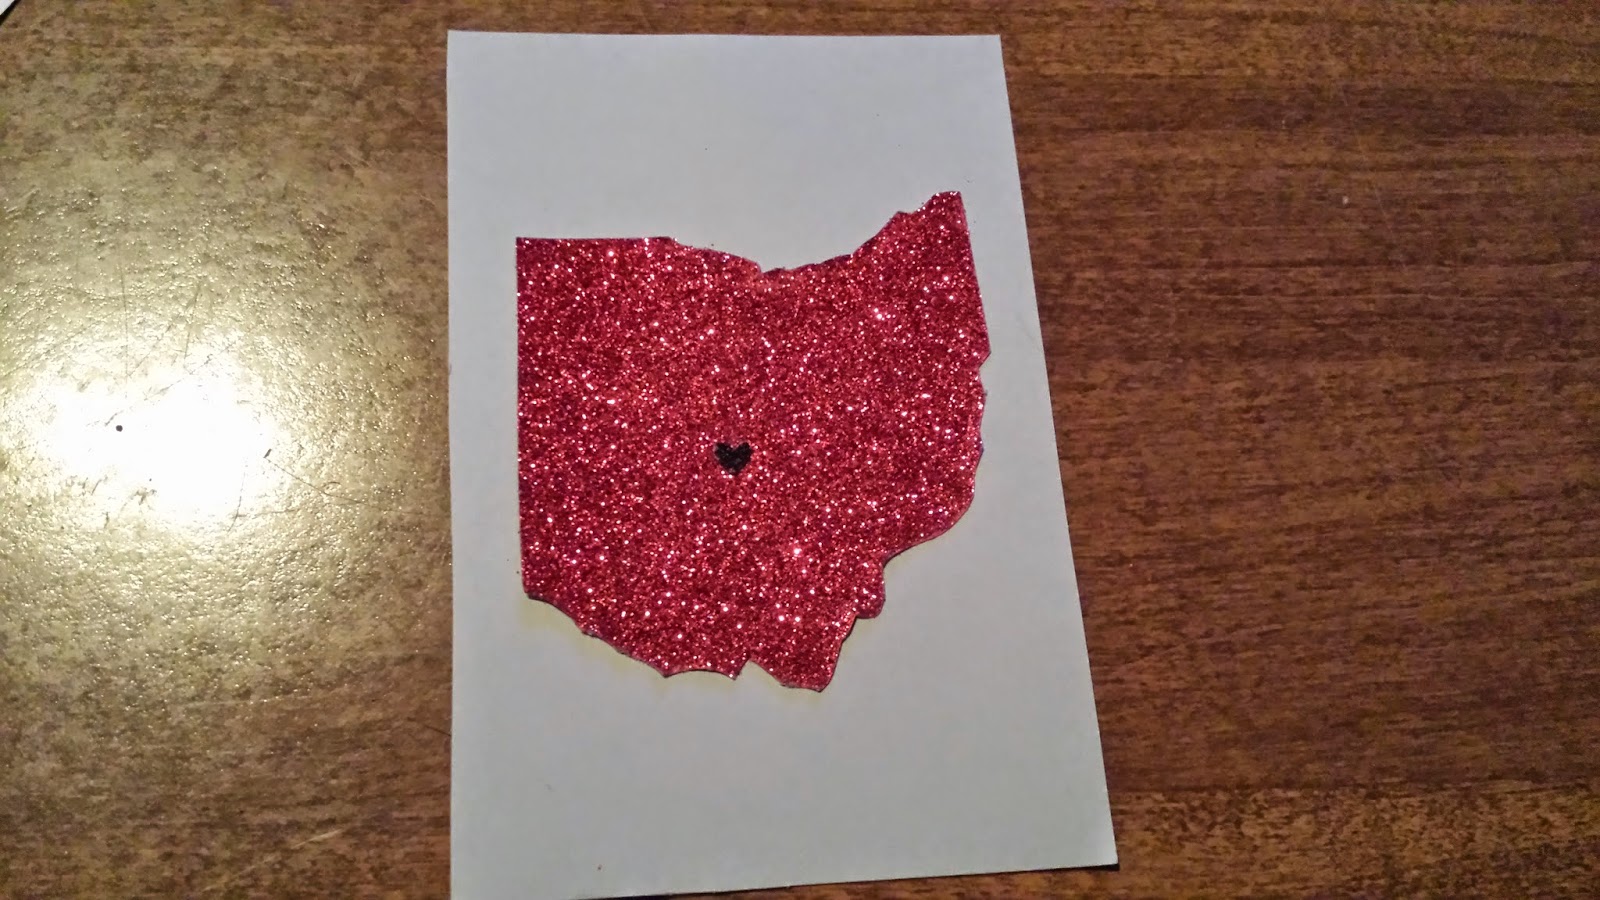
The last step is to glue your state and letters down. I did this onto another sheet of card stock (hence the purchase of a package of colors.) For an added touch, you can cut small hearts (of a different color) and add them to the hometown of your loved one, or at least into the general area..


Once dried, place into frame and wrap! That simple!


I'm all about the simple -cough- cheap -cough- way of doing a DIY project. Stay tuned for more projects (like this one) once we move into our house! I've got a lot of blank walls and a lot of repainting to do, so we'll see what turns up. :)

No comments:
Post a Comment
I appreciate any and all feedback. Don't be afraid!